Photograph the wall you want removed.
Stand back and capture the full wall—from floor to ceiling, corner to corner. This is the view we’ll transform into your new open space.
How to position yourself
Include both corners, the floor, ceiling, doors, and windows. A wider photo gives us the most realistic result.
Tell us what you want changed (optional)
For example: “Open the wall corner to corner,” “remove the center column,” or “leave a 4-foot opening on the left.”
Photograph the room beyond the wall.
Stand close to the wall you want removed, then point your camera into the room on the other side. We’ll use this view to show what becomes visible after the opening is made.
Imagine you are looking through the finished opening. Include the adjacent room’s floor, ceiling, and key features so the two photos merge naturally.
Let’s create your open-space preview.
Your visualization will appear here. Leave your preferred contact method so our wall-removal team can follow up if you’d like to explore the project further.
Your visualization appears here in the browser. We’ll use your contact information only to help with your wall-removal project. Your photos and generated previews are stored privately with your project and are not shared publicly.
Creating your preview…
We’re aligning both rooms, creating the opening, gently tidying loose clutter, and quality-checking the result.
Analyzing your photos…
Usually ready in about 3 minutes.
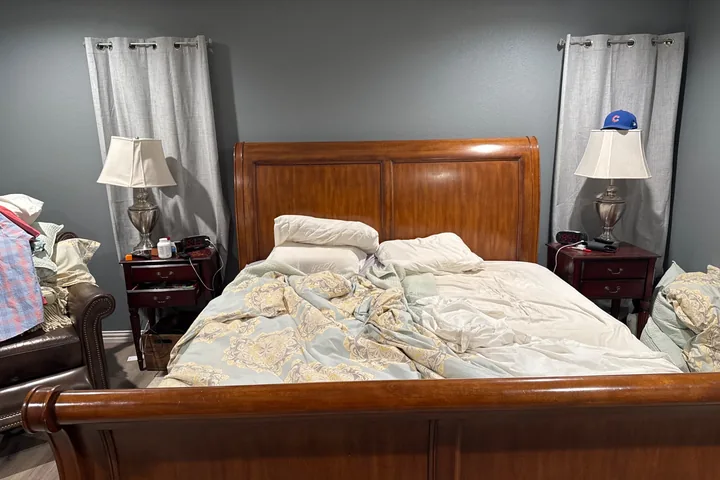 BEFORE
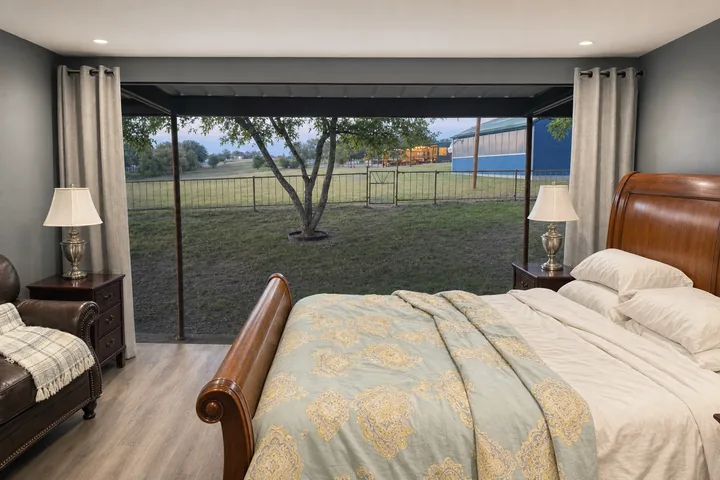 AFTER
AFTERWarming up the imaginary sledgehammer…
Examples are AI visualizations—not engineering plans or guarantees.
Here’s your open space.
Save it, share it, or tell us what you’d change.
Want to change anything?
Describe the adjustment and we’ll update this preview.
Talk through your project with Texas’s wall-removal specialists.
Get a free estimate →We couldn’t finish that preview.
Something went wrong.